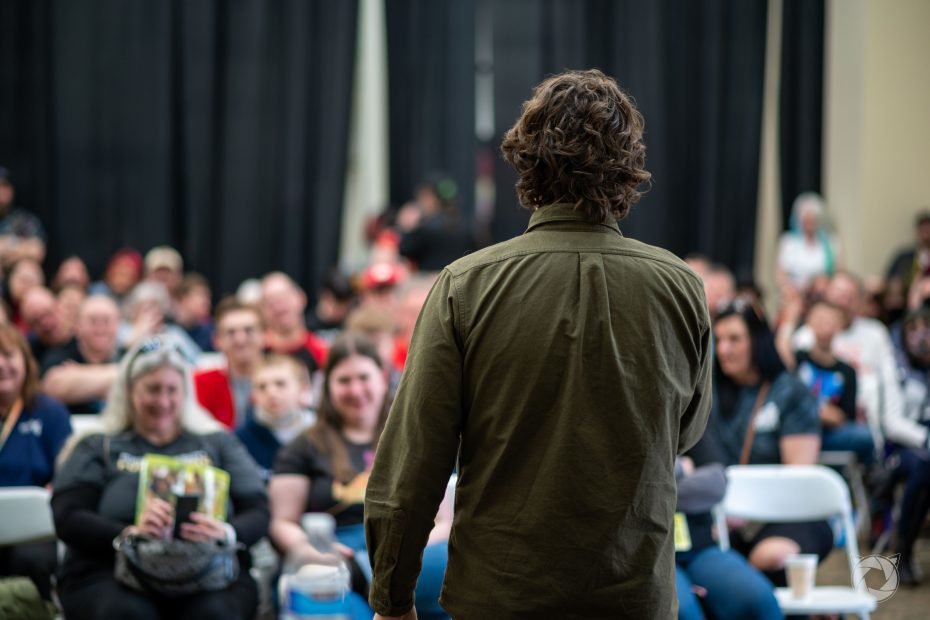
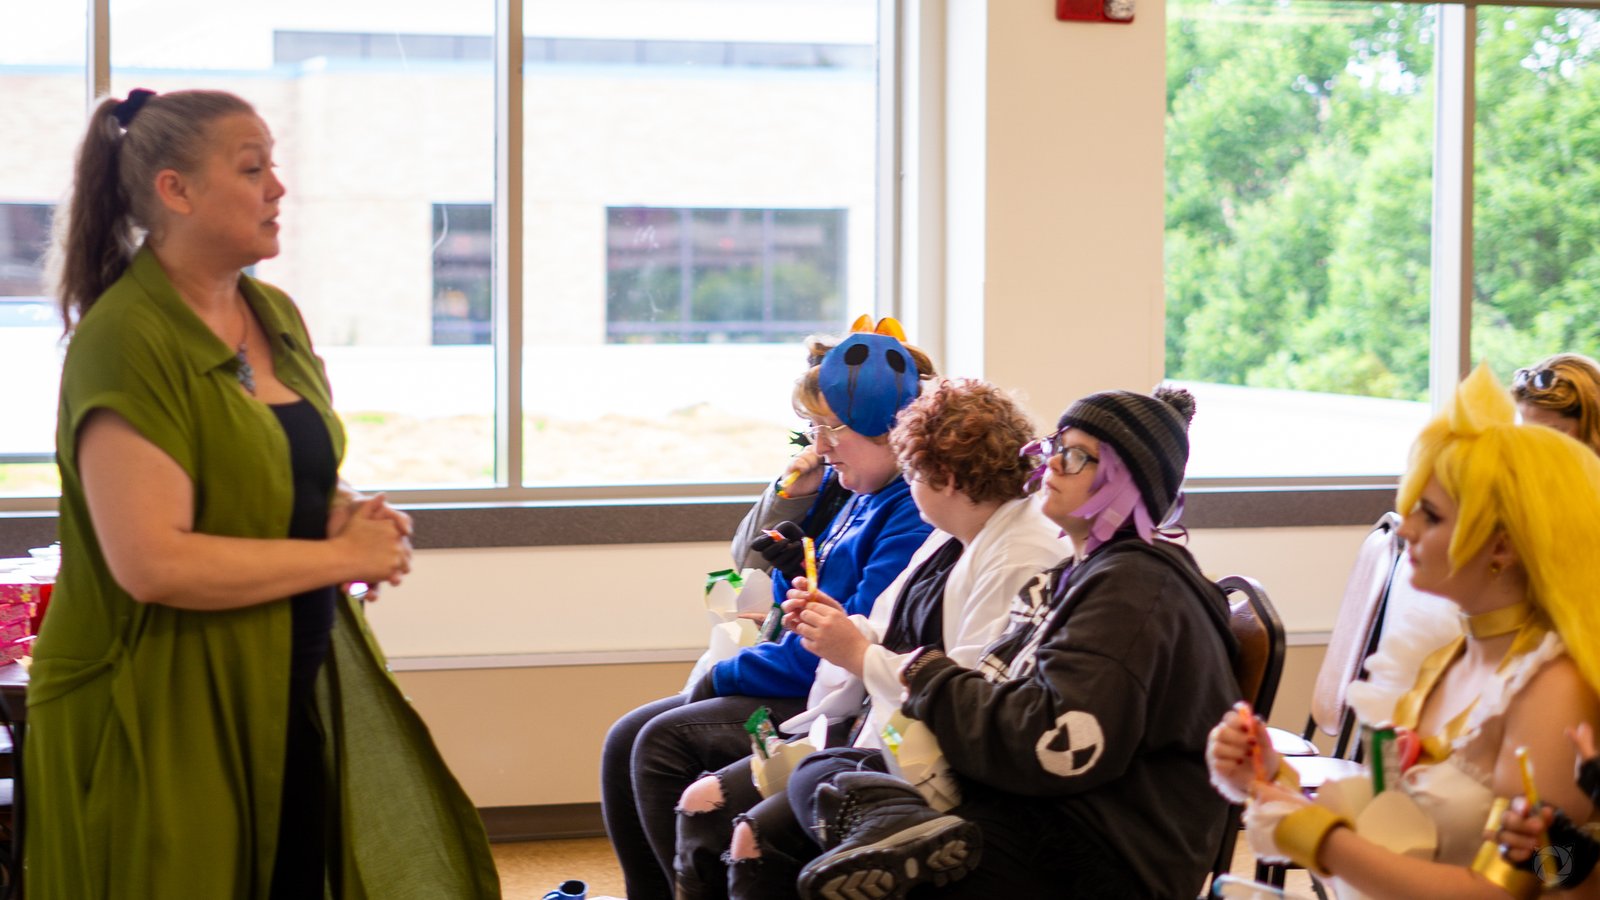
Panels can be a fun and lucrative way to get started in the convention and cosplay community! To start, you will need a panel outline, like the freebie we offer. What’s a panel outline? It’s the document that outlines what you will need to successfully put on the panel. It also shows a potential convention partner what your panel is about and has all the information they need to make the panel part of their programming. It’s super easy to use and is editable as a PDF in both Word and Google.
Check out our Panel Outline template at our store, it’s completely free! A hight tide raises all ships!
How to use this template:
Starting your panel (Skip ahead if you have a panel idea already)
Brainstorming your panel:
For starters, have a brainstorm list of what you are going to do for a panel. Right now, it just needs to be bullet points and quick descriptions of what you want to discuss.
Once you have your bullet points, build upon it, until you have a fully fleshed out outline of what you want to talk about. Remember, you have about forty-five minutes to an hour to talk, so make sure you have enough without going too crazy.

- Logo: Your Cosplay Moniker / Business logo goes here. Keeps everything looking professional. If you don’t have a logo yet, I highly suggest getting one for your organization/business/venture/Moniker. It makes a huge difference, and you can get one for less than 100.00 using a local artist, or something like Fiverr.
- Panel title: What is the name of your panel? Make the name of it something witty that covers what you want to discuss. For instance, my photography 101 panel is called “So…you want to be a cosplay photographer?” it creates a call to action, yet it also describes what your panel is about.
- Panel length: Convention organizers want to know how long your panel will require. Rule of thumb is one hour, but there are a few workshops out there that may be longer…Keep in mind most conventions work in one-hour segments, but they assume each panel takes about 45 minutes to an hour max.
- Equipment required to run panel: This is where you request the tools, computer, projector, cables, supplies, etc. that you will need to run a panel. Most cons do not have a budget to provide supplies or single-use items just for one panel, so if your panel requires supplies outside of the norm. Look into other avenues to get your hands on them (Sponsorships?)
- Panel Description: This is where the convention organizer is going to look most. This is what they want to use to describe and advertise your panel in their app/program, and on social media. Chances are, this is going to end up in a few places throughout the event. Because of all of this, I suggest you write this like an elevator pitch. What’s an elevator pitch? In essence, the goal of an elevator pitch is to communicate the key value or selling points of something in a way that’s engaging and memorable, often with the intention of prompting further discussion or action. Check out THIS BLOG for how to write an elevator Pitch.
- Panel Summary: This is for the convention organizer. This should have a more definitive summary about the panel, and your objectives/goals for putting on the panel. If you are a business and you are making a pitch during your panel, be up front about it. There is nothing wrong with pitching a product if you are engaging to the attendees.
- Outline: Remember those bullet points from earlier? Take those and boil them down to about eight to ten “Segues” for your panel. What is a Segue? That is when you switch to a different subject along the way in your panel. These will be the major bullet points for the panel, and what keeps you on track. Do not forget to leave time for questions – there is almost always another panelist coming back in, and attendees want to ask you questions / get your social media info.
Using this Panel Outline:
Once completed, you can use this outline in several ways. For starters, you can show your social circle, and ask for an opportunity to discuss your panel with them. They can be great judges of whether or not you can keep your audience engaged. You can also attach this outline to your media kit and use it to help organizers consider you as a cosplay guest. Alternatively, you can take it with you in your portfolio to conventions, and hand it off to organizers as a talking point.
If the convention has an application or google doc, don’t fret! E-mail your outline to them titled “for your consideration along with my application” after you fill out the application. Believe it or not, it goes a long way to help you stand out
Adding to the template:
You can add to this template too! add reference photos, a few patterns, and make it your own. Remember: this template is organic. Edit or change it as you wish to fit your own needs. Share it with us, we would love to see (and possibly feature) it!
Do you need more help with brainstorming your panel? Perhaps you need some pointers in public speaking? Sign up for a 30-minute coaching consultation! We can help you with one-on-one personalized training.
Click here for more info